Updating to the latest version
Before you start
![]() Note! It is recommended that you backup
your existing data before installing a new version of Mamut Business Software.
Go to File - Backup
- Create Backup in your Mamut
system to backup your data.
Note! It is recommended that you backup
your existing data before installing a new version of Mamut Business Software.
Go to File - Backup
- Create Backup in your Mamut
system to backup your data.
Multi-User Environment: Updating in a multi-user environment should
preferably be performed by the system administrator. Before installing
on a client/workstation, you must complete the update on the server as
described below and start Mamut Business Software
on the server. Before starting the update procedure, all users should
be logged off the system.
![]() Note!Mamut Business Software uses .NET Framework
and Windows Installer. The installation of these components might require
your computer/server to be rebooted twice, depending on your current installation.
Note!Mamut Business Software uses .NET Framework
and Windows Installer. The installation of these components might require
your computer/server to be rebooted twice, depending on your current installation.
Important information regarding updating Microsoft® SQL Server®
If you have installed Mamut Business Software with our pre-set standard, Microsoft® SQL-server will be updated to Microsoft® SQL Server® 2014 Express.
If you have chosen to deviate from the standard installation (a non-standard instance name, installed another version of the SQL server, or if you have a licensed SQL server) you will be prompted about what is needed during update of Mamut Business Software.
We emphasise the following:
- Mamut Business Software updates only SQL Server Express version.
- If you have a licensed SQL server (older than SQL 2012), you must update your SQL server manually before updating Mamut Business Software.
- Mamut Business Software version 26.0 does not support older versions than the SQL Server 2012. See the system requirements online, (external link).
- You must have a valid backup of your Mamut Business Software before you start the installation process.
License Administration for multi-user installations
When updating Mamut for multi-user installations, the server must have an active license. This will enable the database upgrade to occur directly on the server after the upgrade installation is complete.
Before the upgrade, the server must have an active license set.This is important so that the database upgrade is not accidentally performed from a client computer.
Note: Perform the database upgrade from a server computer, not a client computer as network related problems can occur when updating from a client computer.
Checking that the license is active on the correct computer.
- Log in as a Super user in Mamut on a client/workstation.
- Go to .
- Select .
- Find the server in the list of installed computers and, if necessary, deselect the Inactive check box. You may need to make another computer inactive to not exceed your number of licenses.
How to update
Keep in mind that the installation wizard is dependent on your operating system and current version of SQL. Therefore, make sure that your read all instructions carefully in each section. Make sure you have a valid backup of Mamut Business Software and your SQL server before you proceed.
|
1. Welcome |
|
|
|
The wizard will guide you through the installation. |
|
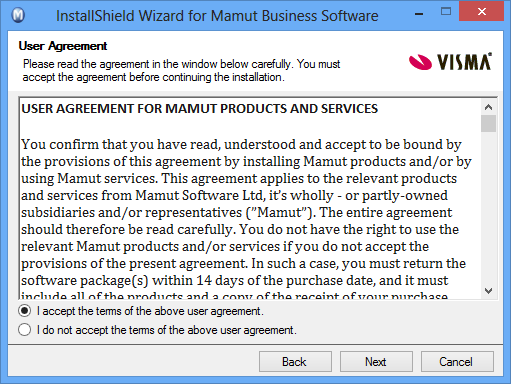
2. User Agreement |
|
|
|
Read the user agreement and select I accept the terms of the above user agreement. |
|
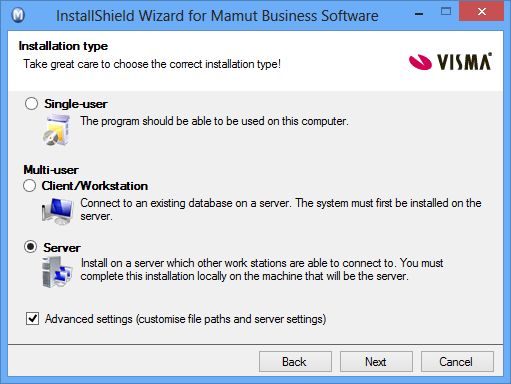
3a. Installation Type |
|
|
|
Select the installation type, in this example Server.
|
|
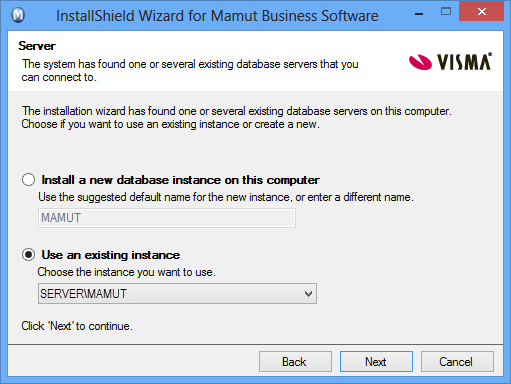
3b. Advanced Settings - Server This window will only be shown if Server and Advanced settings have been selected in step 3a. |
|
|
|
Here you need to select the database instance you wish to use. We recommend that you use the default value.
|
|
3c. Update SQL Server Instance (Windows 7/Windows Server 2008 or higher) The next two windows will only be shown if Single-user or Server have been selected in step 3a. Note that the windows will be dependent on which operating system and SQL version you have. |
|
|
|
|
|
|
|
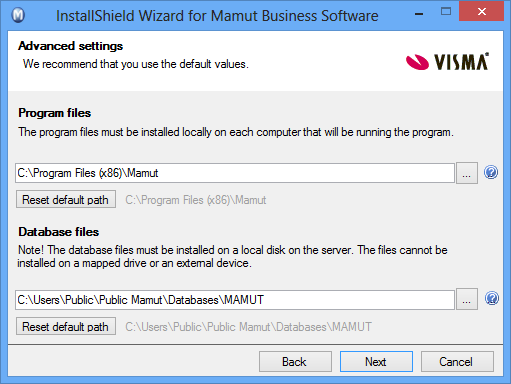
3d. Advanced Settings This window will only be shown if the Advanced settings have been selected in step 3a. |
|
|
|
Check the program and database file paths. If you wish to change the paths, you need to follow the procedure to move the program. We advise that you first finish the update and then move the program once the update is complete. Alternatively, you can cancel the update, move the program and start the update again from the new location. Further information regarding moving the program can be found below. |
|
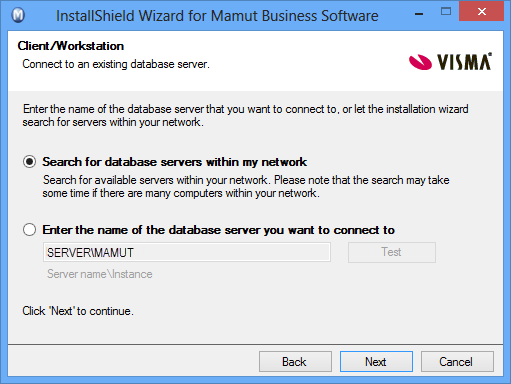
4. Client/Workstation This window is only for Client/Workstation installations. If the installation is done via a client installation set, no changes can be done in this window. |
|
|
|
Choose which database server you wish to connect to. Select
Search for database servers within my
network or Enter the name of the
database server you want to connect to. |
|
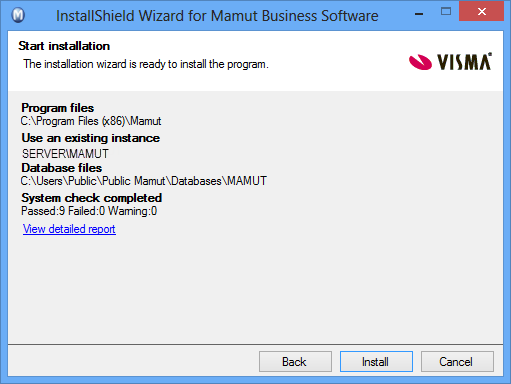
5. Start Installation |
|
|
|
In the summary window, click Install to start the installation or Back if you wish to change any of the settings. |
|
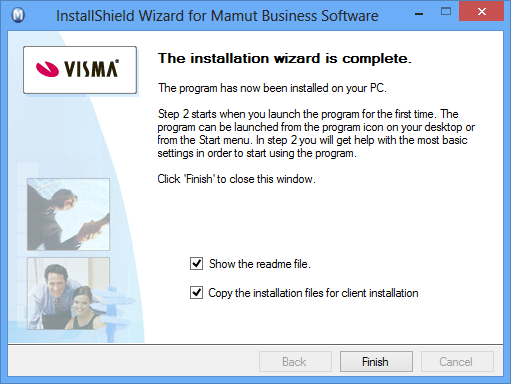
6a. Installation Complete |
|
|
|
Click Finish to
complete the installation. This
may take some time, do not cancel. |
|
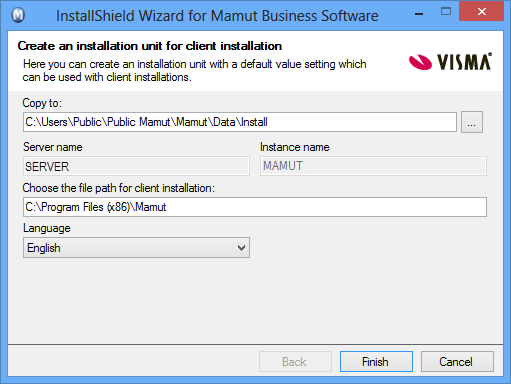
6b. Server: Create an installation set This window will only be shown if you have selected Server in step 3a and Copy the installation files for client installation in step 6a. |
|
|
|
Enter the settings for the installation set here. The
user cannot override the selection. |
|
7. Start the program |
|
|
|
We recommend that you restart your computer before opening
the program. |
|
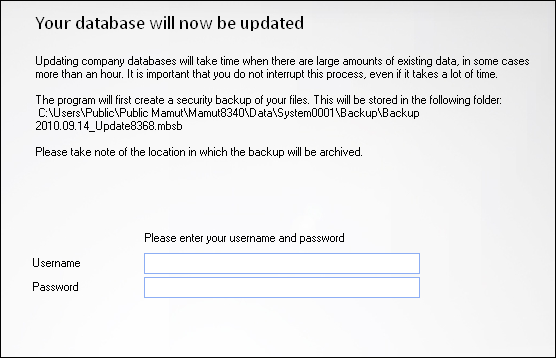
8. Your database will now be updated |
|
|
|
Enter your Username
and Password. |
|
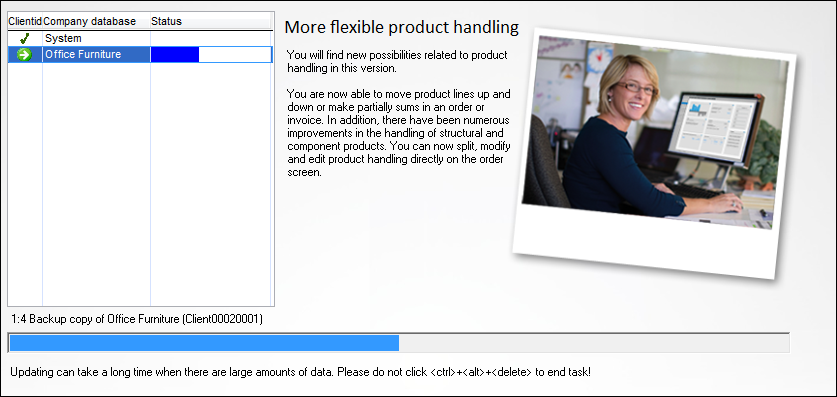
9. The system is being updated |
|
|
|
Wait until the update wizard is finished. |


Updating a Client/Workstation
Before installing on a client/workstation, you must complete the update on the server as described above.
If you created installation files during the server installation, you can simply start the program on the work station and select Start installation in the message that appears. You can also ask the system administrator to send you a link to the Setup.exe file, which you double-click in order to launch a simplified update wizard. Select language and continue.