Go to View - Settings - Accounting and select the Customer & Supplier Ledger tab.
Select the option Company
sends credit charges to customers who do not pay by the due date.
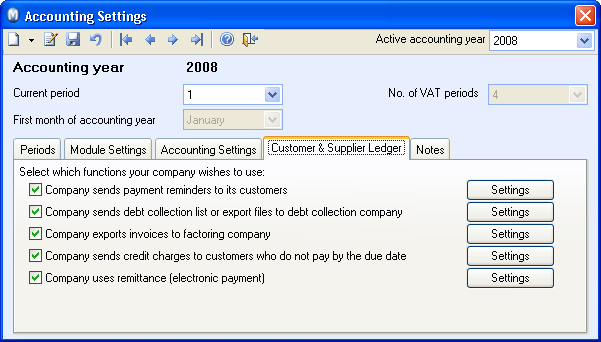
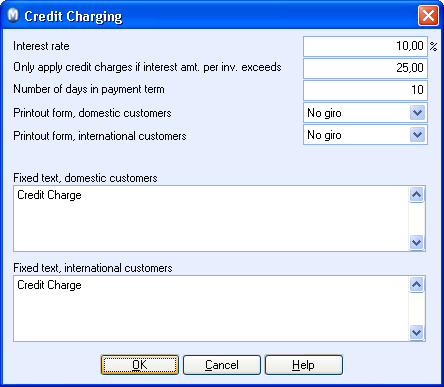
Click the Settings
button to the right of the check box in order to define the credit charging
settings. More information can be found here.
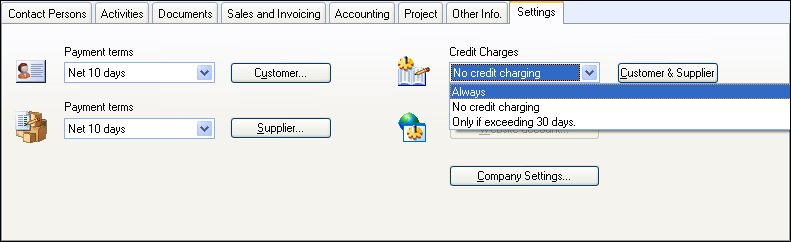
Select credit charging for the relevant customers. This
can be done on the customer's contact card, on the Settings
tab. You can choose between the options Always
or Only if exceeding 30 days from
the drop-down list Credit Charges.
The option Only if exceeding 30 days
means that a credit charge will only be generated if an invoice is paid
more than 30 days past the due date.
If you do not wish to credit charge the customer, select No
credit charging from the list.
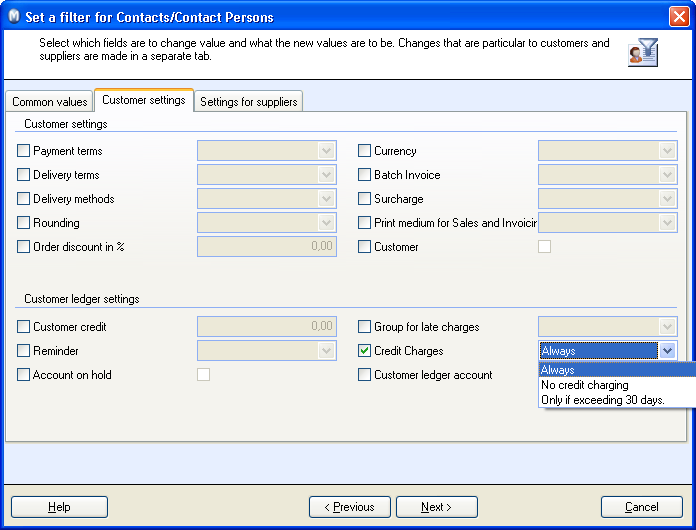
Tip! You can implement the changes for all customers in one
single operation by using the wizard Change
Values for a Selection of Contacts. Read more about the wizard
here.
Select a default setting for credit charging of new customers by clicking View - Settings - Company - Settings per Module - Contact Management. You can choose between the options Always, No credit charging or Only if exceeding 30 days from the drop-down list Credit Charges.
 The system is now set up for credit charges.