How to setup a Share?
 With Share you and other users are able to share files, either on a shared
server, or on your own computer, so that others can gain access to the
files and also edit these files. All users are also able to delete files
and add files within the shared folder.
With Share you and other users are able to share files, either on a shared
server, or on your own computer, so that others can gain access to the
files and also edit these files. All users are also able to delete files
and add files within the shared folder.
How to setup a Share
 Click on the plus-icon next to Share
to go to the first step in the wizard.
Click on the plus-icon next to Share
to go to the first step in the wizard.
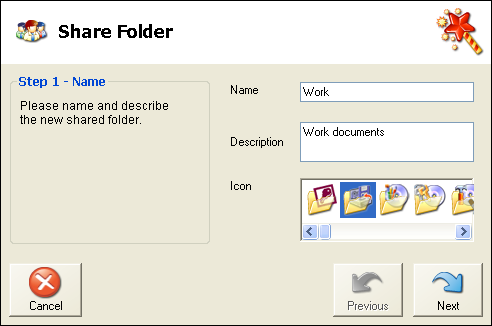
Enter a Name.
The name will become the name of the folder being created in the Mamut Online Backup
area in My Documents.
You can also enter a Description
and choose an icon for the folder that will be setup.
Click on Next
to continue to step 2.
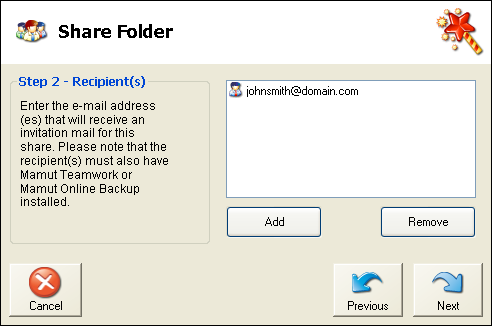
Click on Add
and enter the recipient’s e-mail address. Repeat if you want to send to
several recipients. Click on Next
when you are ready.
Enter a Subject for
the invitation, which will be used in the e-mail to your recipients.
You may also want to add a message to the e-mail.
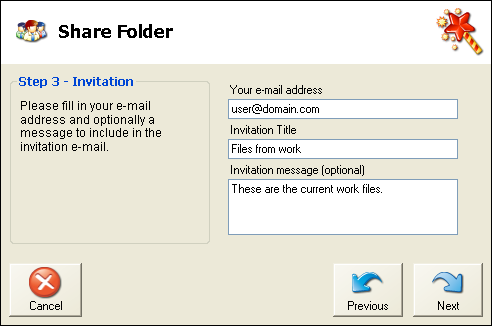
Click Next.
Add a Mamut Key
to protect your data. The Mamut Key
will not be sent together as a part of the invitation.
Send it in another e-mail to the recipient(s) instead or pass it on over
the telephone or via another method of communication.
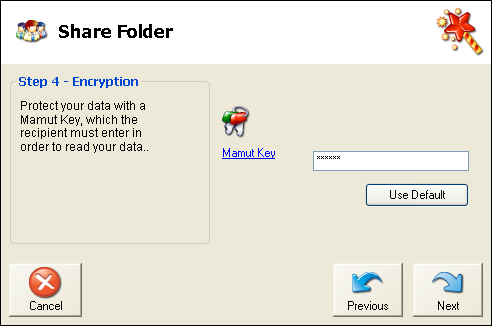
Important! When sending to other users, it is recommended that
you do not use the same Mamut Key
as the one you use for accessing your own backup data with.
Click Next.
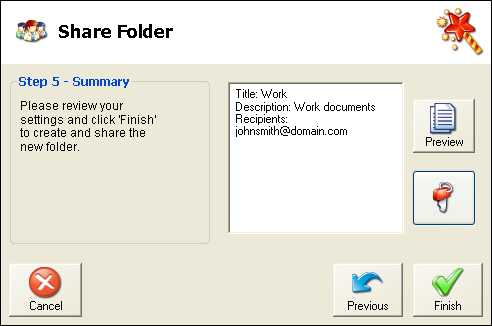
Check that you have entered the correct information
and click on Finish.
The recipient(s) will now receive an invitation code which is only
valid for this particular invitation and can only be used once.
The folder which is being created on your computer opens
and you can copy in the data you want to share with others.
 The upload will start immediately and run
continuously, while you change the content of the folder.
The upload will start immediately and run
continuously, while you change the content of the folder.
 Note! A file that is deleted within
a shared folder, will be deleted from everyone who is participating in
sharing the files.
Note! A file that is deleted within
a shared folder, will be deleted from everyone who is participating in
sharing the files.
Read more about:
Share