View - Settings - User - Settings
per Module - Time Sheet Input 
You can use the tabs in User settings to define which columns will appear in Time Sheet Input and to adapt the module to your own use.
 You can open the settings by clicking the Settings
drop-down list on the top toolbar and selecting User
Settings. Alternatively you can choose View
- Settings - User - Settings per Module and
Time Sheet Input to open the module.
The screen consist of four tabs: Default setup, Columns for entries, Default values and Columns for transfer.
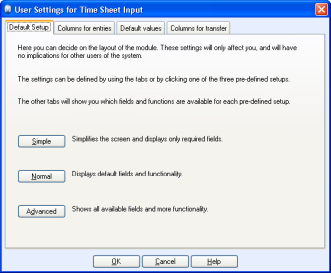
Default setup
You can select from three pre-defined setups.

Basic: Keeps the screen as clear as possible, showing only some of the fields.
Normal: Shows standard fields and makes default functions available.
Advanced: Shows all available fields and more functionality.
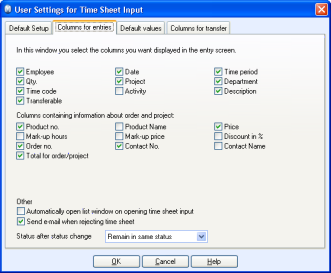
Columns for entries
In this tab you select the columns you want available in Time Sheet Input. Remove the columns you do not need, by un-checking them, in order to improve the overview in the Time sheet registration screen.
If you want you can tick the Automatically open list window on opening time sheet input box. A list of all registered time sheets will appear and you can find the time sheet you will be working on by using the status filter.
You can also tick the Send E-mail when rejecting Time sheet box. The user that registered the time sheet will then receive an e-mail to let him/her know that the time sheet has not been approved assuming that an e-mail address has been registered in the employees contact card and that the user and employee are linked.
After changing the status of a time sheet, you can decide whether you will Remain in same status or if you will Follow time sheet to next status. If you will be working on one time sheet only it is recommended that you choose the latter.

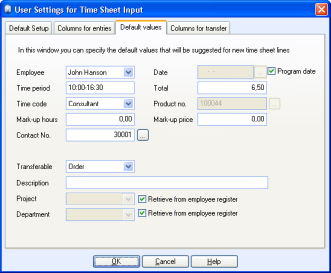
Default values
All values will automatically be set when you create a new time line. If you usually create time sheet lines of the same type, you will be able to save time and avoid repeating routine work by filling them out in advance.

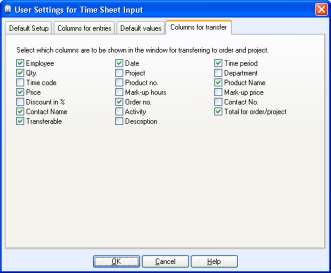
Columns for transfer
We recommend you check the columns you wish to display in the screen when transferring to Order and Project. Remove ticks in boxes for columns you do not need, to improve your overall overview.

Read more about: