Recovering a machine via the Restore function
The Restore
function has been designed to make it as easy as possible for you to restore
data from a machine that is no longer in use or another machine you are
accessing via the same user account. However, this function enables you
to restore the latest version of a file only. Here, you can start a route
to restore an earlier backup copy, either to your machine, or to another
machine, for example if you have changed machines or it has broken down.
If you have chosen to
backup all of your My documents, Favourites, Desktop and so forth, you
are able to quickly and easily restore these on a new computer the same
way you had them on your old machine.
The files will first be downloaded to one area of your machine and from
there you can then move them to their 'proper' place.
How to restore data via the Restore
wizard
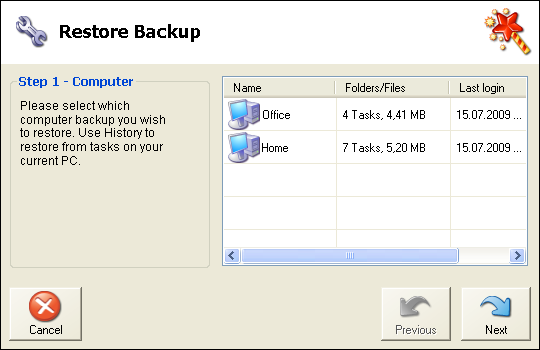
Click on Restore
in the toolbar at the top of the window. Choose which computer’s data
you want to restore by selecting it from the list.
The machines displayed are the ones in use for your account.
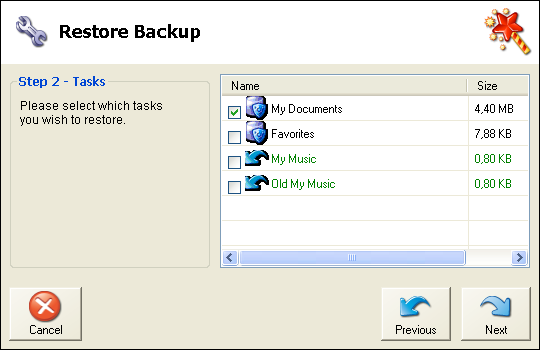
Select which folders should be restored by ticking the
box next to them. Click on Next.
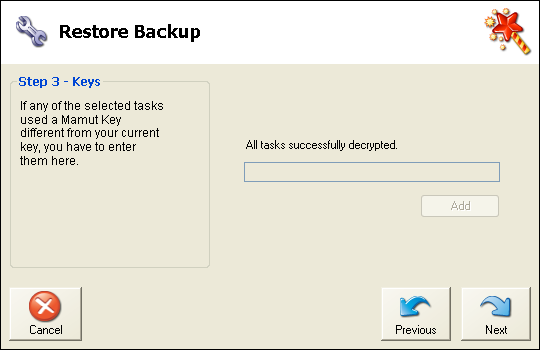
If one or more of the folders you want to restore are
protected by a Mamut Key
other than the default one, you will have to enter this in the next window.
You will receive an alert about this in the preceding window already.
You need the correct Mamut Key
in order to be able to restore files. You might potentially want to check
the place where you saved the key when you created it.
Choose where on your machine the selected folders should
be restored. The folders will be saved the same as they were uploaded
to the server.

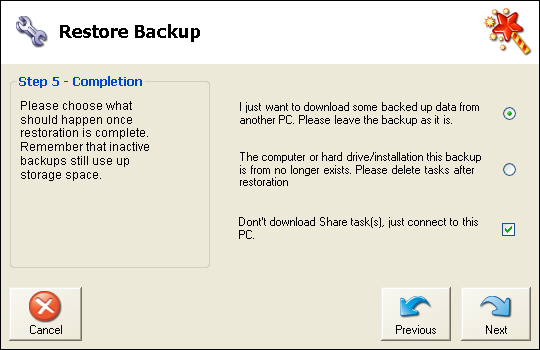
Choose what you want to do with the files on the server.
By default, the files will remain unchanged. However, if you are restoring
files from a computer that no longer exists, you should choose the bottom
option to delete the backup files after restoration. That way the files
will no longer take up space on the server for your account. Just remember
to set up a backup task for these files from your new computer!
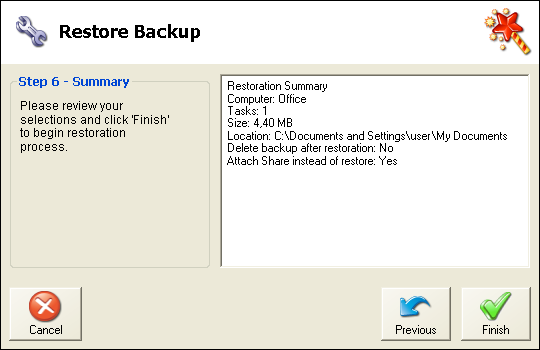
Finally, you will be shown a window summing up all your
selections. Check these and when you are happy with them, click on Next.
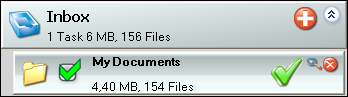
 .The
download begins and you can follow its progress in your Inbox. Once the
files have been received, you will get a message telling you that all
files have been uploaded and you will be asked whether you wish to remove
the task. If you answer Yes, it
will be deleted from your Inbox. This way it will no longer take up space
in your account. The program will now open the folder where the files
are stored.
.The
download begins and you can follow its progress in your Inbox. Once the
files have been received, you will get a message telling you that all
files have been uploaded and you will be asked whether you wish to remove
the task. If you answer Yes, it
will be deleted from your Inbox. This way it will no longer take up space
in your account. The program will now open the folder where the files
are stored.
You will find the files on your computer in the location you chose to
save them at. Click on the folder to the left to directly access this
location.
You can now start sending your data to the location you want it to be
on your new computer. This is done the usual way in Windows by moving
the files.
Read more about:
Standard tasks
Selecting standard
tasks for backup
Selecting user-defined
folders for backup
Restoring data and machines
Restoring
data via the History function
Search
for files and folders